Invoicing
Invoicing
What it is
Every invoice ends up in the same place no matter how it starts: Xero raises the invoice, the details get copied back onto the Pipedrive deal, and the PIM emails the PDF to the customer. What changes is how the invoice starts — there are a few ways, depending on whether it’s a web order, a counter sale, a quote, or an account/PO order.
flowchart LR
  A[Web order paid online] --> X[Xero raises invoice]
  C[POS counter sale] --> X
  Q[Quote in PIM Chat] --> X
  B[Account / PO order] --> P[Staff send from panel or PIM]
  P --> X
  X --> D[Invoice number + status copied onto the deal]
  X --> E[PIM emails the PDF to the customer]
All the ways to generate an invoice
There are five ways an invoice gets raised. Pick the row that matches what you’re doing.
| Situation | Where you do it | Section |
|---|---|---|
| Customer paid online on the website | Nothing — automatic | 1. Web order |
| Serving someone at the counter | POS | 2. POS counter sale |
| Turning a quote into an invoice | PIM Chat | 3. From a quote |
| Account or PO customer | Operator panel | 4. Account / PO order |
| Re-sending / any manual send | PIM invoice list | 5. Re-send from the PIM |
1. Web order (automatic)
For online orders on the storefront, you don’t do anything — it’s hands-off:
- Customer checks out and pays online.
- The system creates the Pipedrive deal, then Xero raises the invoice and marks it paid (the money’s already collected).
- The invoice number and status are written onto the deal, and the PIM emails the invoice PDF to the customer.
Today only Perspex Online web orders run this automatic path. Plastic Online orders still come through the older WooCommerce route.
TODO: confirm whether Plastic Online has moved onto the automatic path before relying on this.
2. POS counter sale
When you’re serving a walk-in or an account customer at the counter, the POS raises the invoice as part of taking the sale.
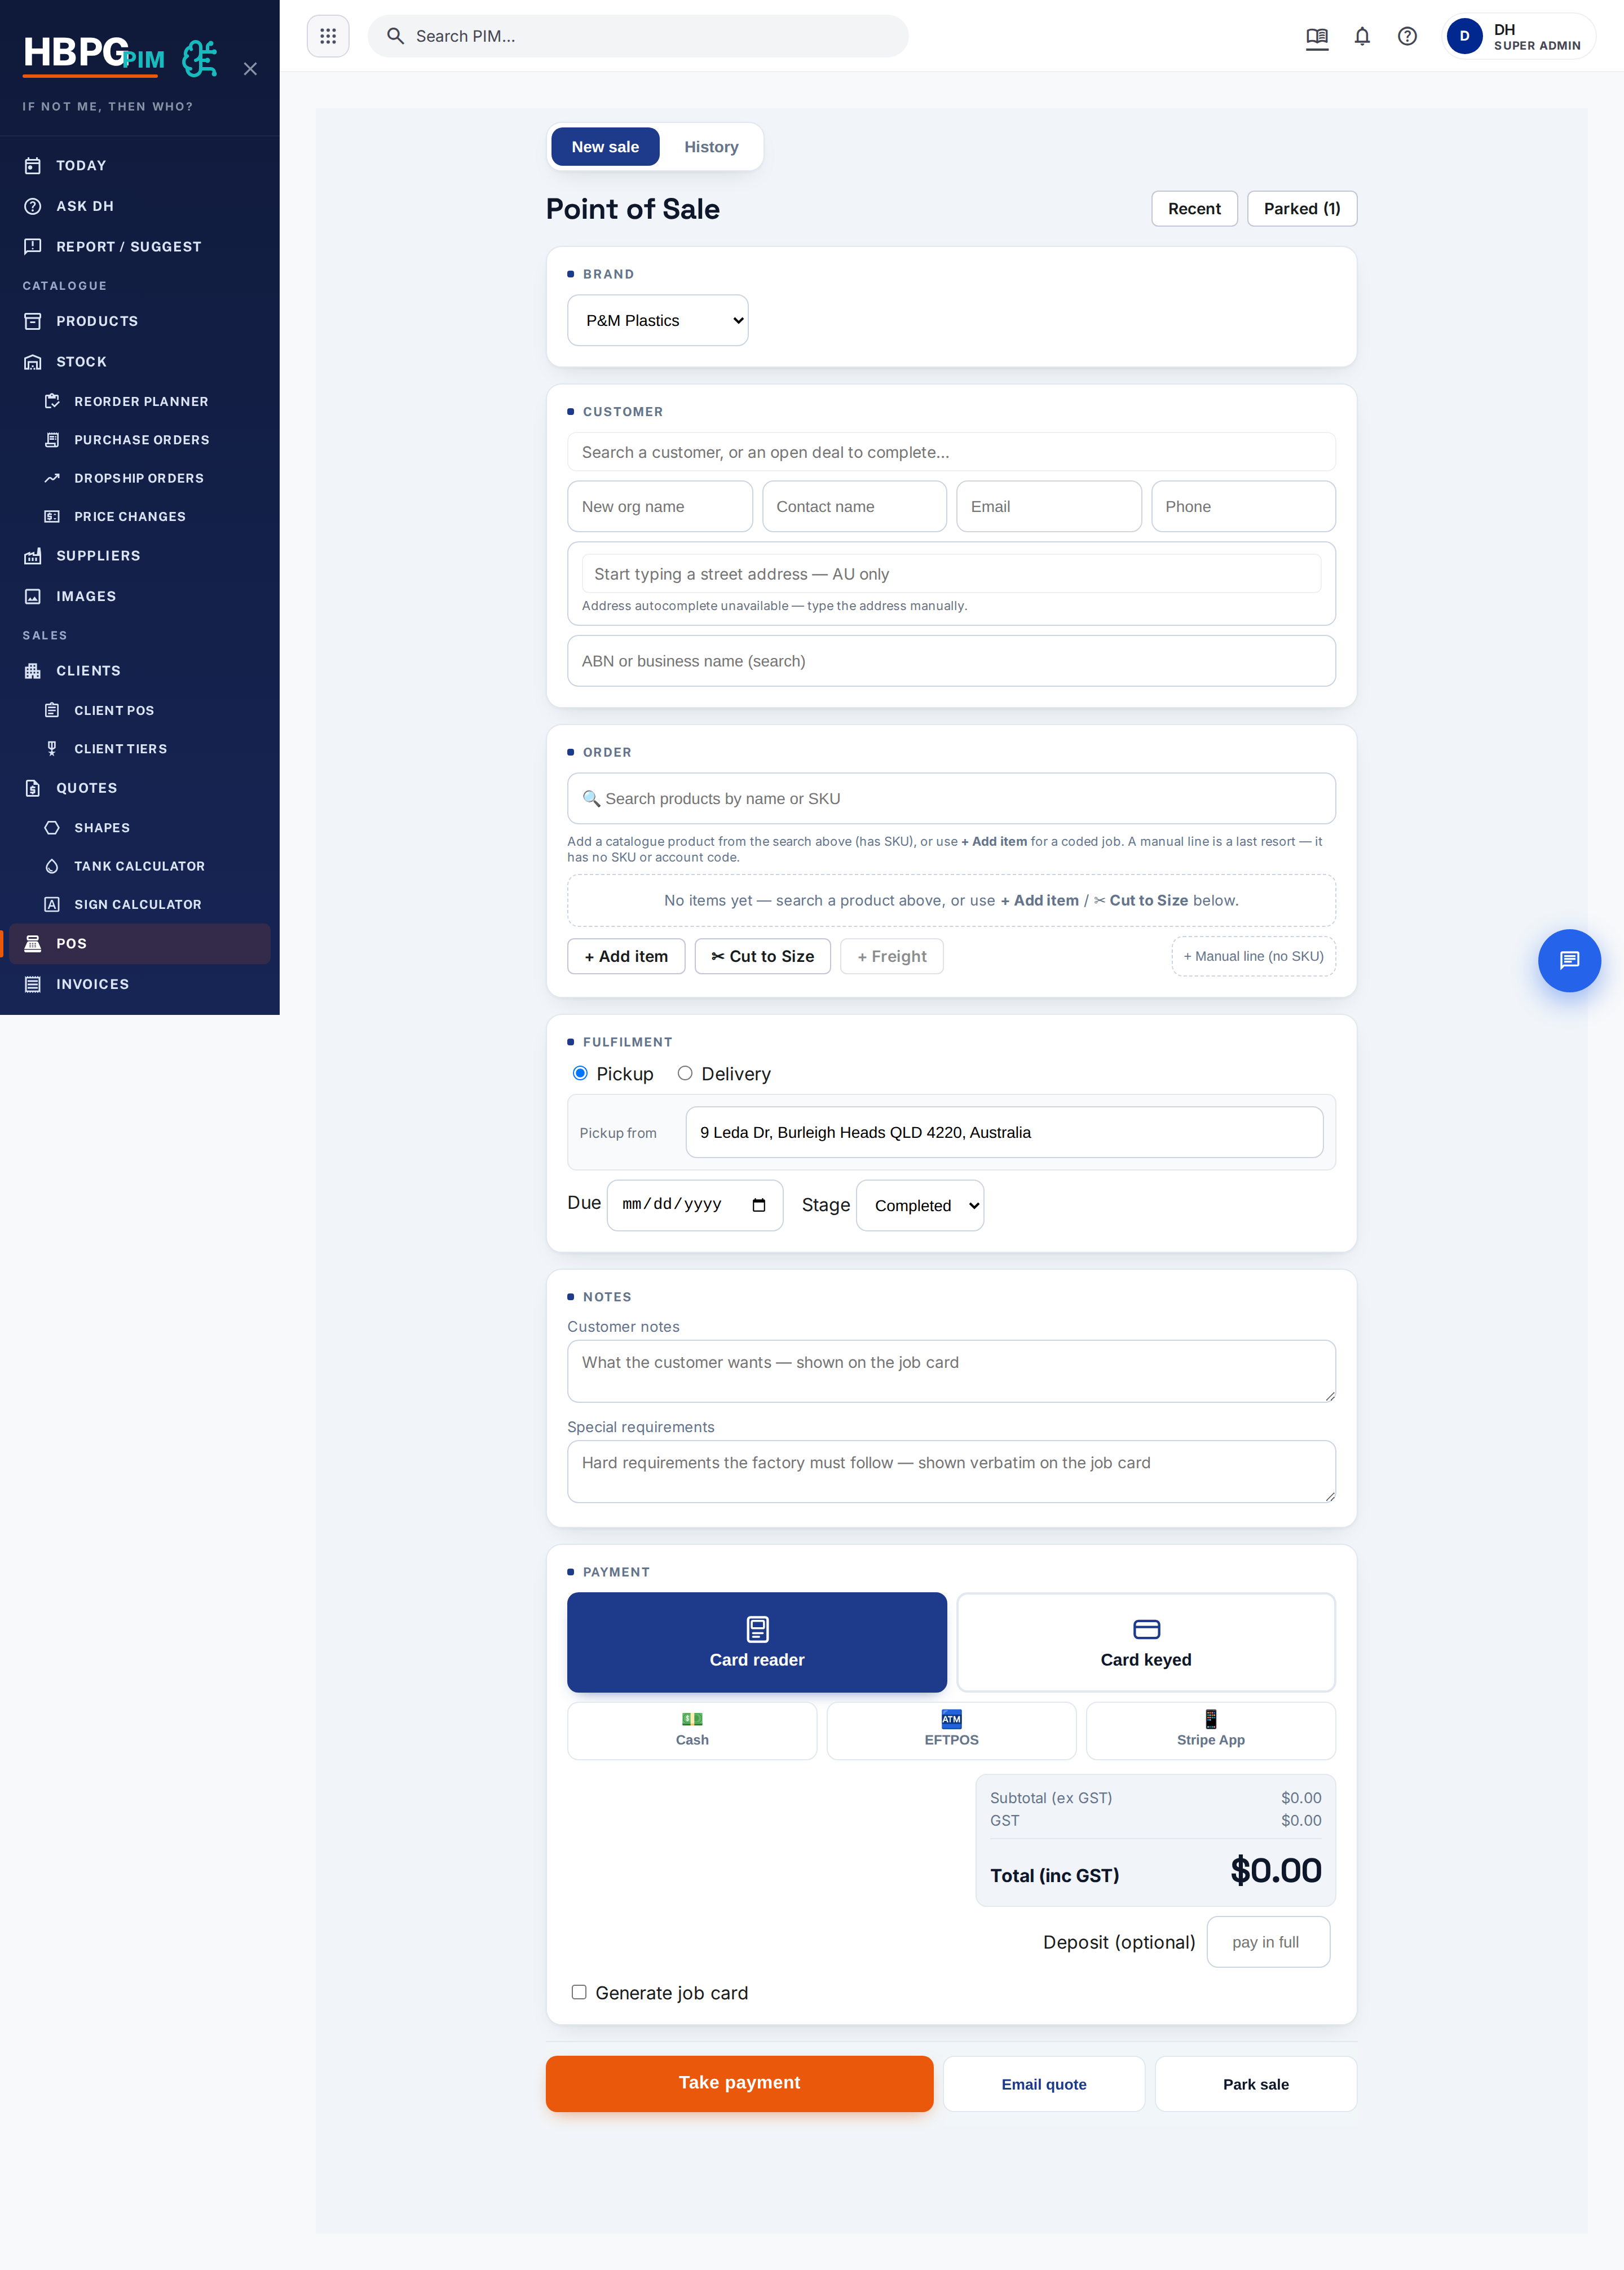
- Open POS and pick the brand at the top.
- Attach the customer — search an existing account, or type a new org / contact name (walk-ins can be left as a one-off).
- Add items to the cart (product, cut-to-size, custom, freight, or scan a barcode).
- Choose Pickup or Delivery, and set the Stage (e.g. Completed).
- Take payment — Cash, Card (keyed) or Card (reader) — then press Take payment. That raises the invoice and (for a paid sale) marks it paid.
Use Save as quote if the customer isn’t ready to pay, or Park sale to put it aside and come back to it. Tick Generate job card if the sale needs production.
3. From a quote (PIM Chat)
If you’ve priced something in PIM Chat, you can turn it straight into an invoice without re-keying it.
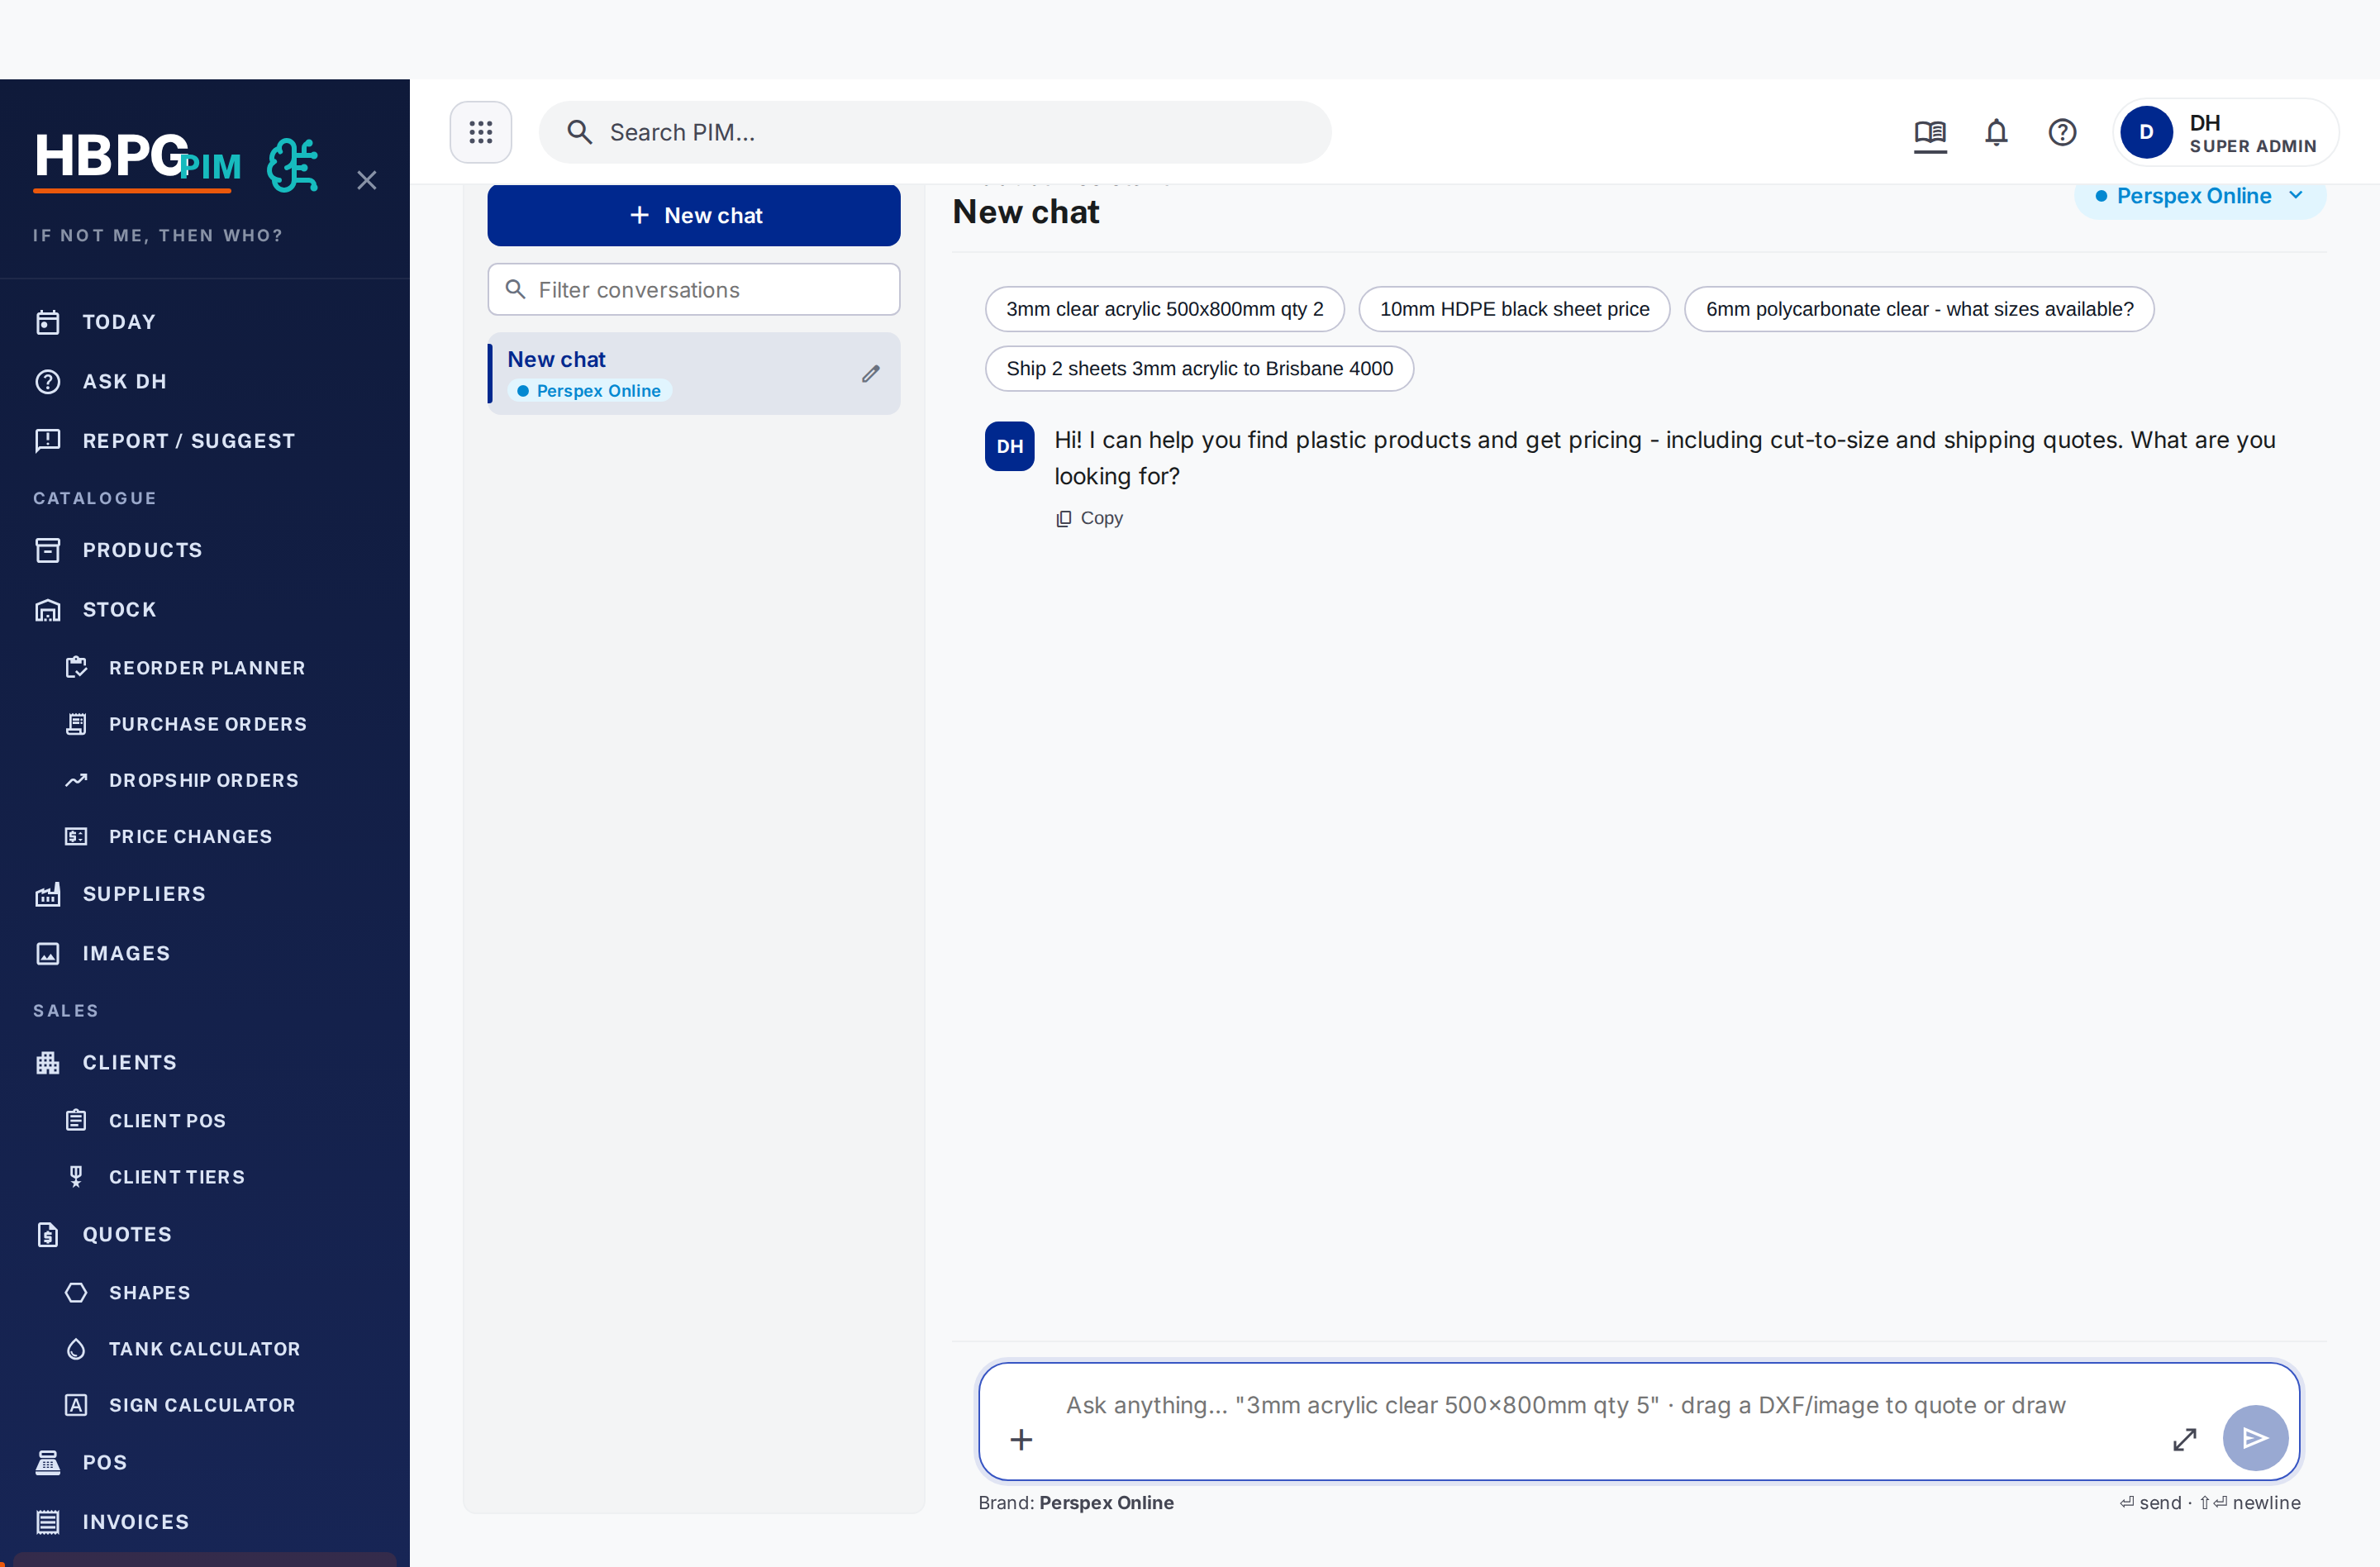
- Ask PIM Chat for the quote (e.g. “3mm acrylic clear 2440×1000 ×10, quote”).
- On the quote it returns, press Create draft invoice (or Attach to Pipedrive deal to put it on an existing deal first).
- The draft is raised in Xero; send it from the panel or the PIM (see below).
4. Account / PO order
Account and purchase-order customers are done by a staff member in the
operator panel (xero-worker /panel): create the invoice, send it, void
it, apply a payment, or replay/resend one.
TODO: confirm the exact click-path in the panel with a screenshot — the backend is confirmed, the on-screen steps aren’t captured here yet.
5. Re-send from the PIM
To re-send an invoice, or send one that was raised as a draft, use the PIM dashboard — it works out the right recipients for you.

- Open the invoice in the PIM (
pim.hbplastics.com.au→ Invoices). - Use the Send dialog — it fills in the correct recipients (see below).
The invoice email always comes from the PIM (via SendGrid), not from Xero directly. “Email from Xero” is a dead path — if you send it that way the customer won’t get our proper template and it won’t be tracked.
How to control who receives a client’s invoices
This is the important one. Who gets the invoice is decided by contact flags on the client in the PIM, not by the email on the Xero contact:
- Open the client in the PIM.
- On the right contact, tick Invoice recipient.
- (Optional) Tick Bills recipient on anyone who should always be Cc’d.
How it then behaves:
- If a client has Invoice recipient contacts, they become the “To” on every invoice for that client. Even the address the customer paid with online gets moved to Cc — never dropped.
- Bills recipient contacts are always Cc’d.
- A contact whose email has bounced is automatically left off.
- A one-off retail order with no flagged contacts just goes to the email on the order.
To change who receives invoices for an account customer, set the Invoice recipient flag on the right PIM contact — don’t edit the email in Xero.
Chasing overdue invoices
Non-account customers (COD / pay-on-invoice) who don’t pay on time aren’t covered by the normal account statements, so the system chases them automatically and also lets you nudge them by hand.
What happens automatically
Every morning (8am) the system emails the brand inbox (e.g.
sales@hollandplastics.com.au, enquiries@perspexonline.com.au) a follow-up
for each invoice that is:
- 5 or more days past its due date and still unpaid, and
- for a non-account customer — account customers on trading terms are left to the normal accounts process, not chased here.
It re-sends every 5 days while the invoice stays unpaid, and stops once it’s 30 days overdue (by then it needs a phone call or a write-off decision). One email per overdue invoice; nothing more is sent once it’s paid.
How to see and chase them yourself
- Open the PIM Invoices page and click the Overdue tab (next to List).
- You’ll see every non-account invoice 5+ days overdue that’s queued to be chased — invoice number, customer, brand, amount due, days overdue, and which reminder it’s up to.
- To email the brand inboxes now (instead of waiting for 8am), click Send … now. Anything already chased in the last 5 days is skipped.
- To open an invoice, click its row — it takes you to the invoice detail page.
How to text a customer a reminder
On any row in the Overdue tab, click the SMS button:
- The customer’s mobile is looked up automatically (you can edit it before sending).
- Click Send — they get a text saying the invoice is now N days overdue, please arrange payment, with a view & pay online link.
This is manual, one customer at a time — nothing texts customers on its own.
The daily 8am reminder goes to your brand inbox for staff to action — it is not posted to Teams or any chat channel. The only message that reaches the customer is the SMS, and only when you click Send.
The Cutting & Setup Fee on cut-to-size jobs
Small cut-to-size jobs cost nearly as much to set up as big ones, so a Cutting & Setup Fee is added automatically when the cut-to-size material on an invoice comes to less than $85 ex GST. It is applied once per invoice, not per line.
How much:
| Cut-to-size material (ex GST) | Fee (ex GST) |
|---|---|
| Under $50 | $35.00 |
| $50 – $85 | $85 minus the material — e.g. $63.70 of material → $21.30 |
| $85 or more | nothing |
It applies to every cut-to-size job under $85, however the invoice is raised — the storefront, a quote the customer accepted, POS, or one you raise yourself in the PIM. You do not need to add it by hand, and you should not add a second one.
Only cut-to-size material counts toward the $85. Laser, router, sheet sales and freight lines do not, so an invoice can total well over $85 and still attract the fee if the cut-to-size part of it is small.
If a job shouldn’t carry the fee — you priced it deliberately, it’s an account customer, or it’s a goodwill call — waive it rather than deleting the line. Use the waive action, which records who waived it and why. A waiver is respected everywhere and is never silently re-applied; a deleted line can come back the next time the invoice is rebuilt.
If you think a fee is wrong or missing, say so — an invoice with cut-to-size material under $85 and no fee is now reported automatically within 15 minutes, so it’s worth flagging rather than assuming someone already knows.
Common questions
- The customer says they didn’t get the invoice. Check the contact isn’t marked bounced, and that the right contact has the Invoice recipient flag. Then re-send from the panel or the PIM Send dialog.
- An invoice is bigger than I expected on a small cut-to-size job. That will be the Cutting & Setup Fee — see the section above. It is charged once, only when the cut-to-size material is under $85 ex GST.
- Can I resend from Xero? No — resend from the panel or PIM so it uses our template and tracking.
- A web order didn’t email straight away. If the PIM was briefly unreachable when the payment came in, the email is queued and retried, not lost — give it a few minutes.
- I took a POS sale but the customer wants the invoice re-sent. Open it in the PIM Invoices list and use the Send dialog (method 5).
Who to tell if it breaks
Tell Daniel, or flag it in #whats-new. If invoices aren’t emailing at all
(not just one customer), that’s a system issue — escalate straight away.
Derived from: xero-worker, the PIM invoice-email logic, and the PAI order flow. If this looks wrong, the source changed — update the source and re-generate, don’t just patch this page. See also Xero and Pipedrive.